

Your First Custom Keyboard Does Not Have to Be Complicated
Custom mechanical keyboards look intimidating from the outside. Thousands of options, endless forums, and strong opinions. Start simple. A 65 percent layout with a hot swap PCB is the most forgiving entry point.
5Core Parts
2Hours Build Time
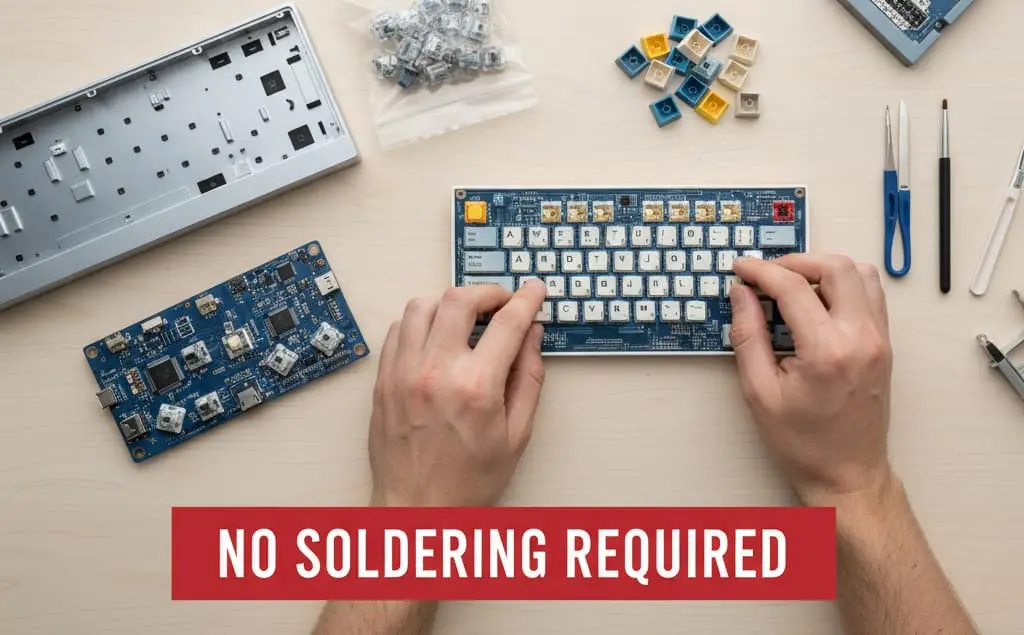
Hot Swap vs Soldered
A hot swap PCB lets you pull switches out and replace them with no soldering. This matters when you are just learning your preferences. Soldered builds are permanent until you learn to desolder, which takes practice.
"The feel of a keyboard is deeply personal. Build one, type on it for a month, then decide what you actually want to change.
"KaiRenner26th of April 2026
Parts You Will Need
Case (plastic, aluminum, or acrylic)
PCB with hot swap sockets
Plate (polycarbonate or brass)
Switches (start with something linear like Gateron Yellow)
Keycaps (PBT double shot for durability)
Stabilizers for spacebar and modifiers
Buying Advice Avoid ultra cheap switches from unknown brands. Gateron, Akko, and Durock are all budget friendly and reliable. Keycap quality matters more than people admit. Thin ABS caps wear out and shine quickly.
Lube Your Stabilizers
This step alone changes how the board feels. Apply Krytox 205g0 to the wire ends and inside the housing. Rattly stabs ruin an otherwise great build.
Install Switches into the Plate and PCB
Seat each switch into the plate first, then press into the PCB hot swap socket. Make sure the two metal legs align with the socket holes before pressing. Bent legs are the most common beginner mistake.
Test Every Switch Before Closing the Case
Plug in the PCB and use a keyboard tester site to confirm every key registers. Fixing a dead switch after the case is closed is much harder.
Install Keycaps and Type
Press keycaps onto switch stems. No tools needed. Power it up and type something. This is the moment all the parts become a keyboard.