Stock Done Right: Temperature, Timing, Gel Test
Every recipe says "simmer a long time." None of them tell you why that temperature matters.
Stock is not complicated, but the one technical rule that recipe sites skip turns out to be the difference between a silky, clear result and a greasy, murky one that never gels. The rule is this: keep the liquid between 82 and 90C (180 to 195F) throughout the entire cook. Never let it boil. This is not a vague instruction about gentleness. At a rolling boil, mechanical agitation breaks fat droplets into particles small enough to emulsify permanently with the proteins in the liquid. Once that happens, no amount of skimming or straining will fix it. At 82 to 90C, fat droplets stay large enough to rise and be skimmed. The liquid stays clear and clean. This tutorial covers the six things that actually matter: the cold start, the temperature, the skimming schedule, how long each protein needs, the two-stage gel test, and how to cool and store safely. Time needed: 20 minutes of active work plus the unattended simmer.
Chicken stock
3 to 4 hours
Beef or veal stock
6 to 8 hours (12 for maximum gel)
Fish stock
20 to 30 minutes maximum
Vegetable stock
45 to 60 minutes
Simmer temperature
82 to 90C (180 to 195F), never boiling
Active work
Around 20 minutes spread across the cook
Salt
Never during cooking. Add only when you use the finished stock.
Step 1. Start cold, never hot
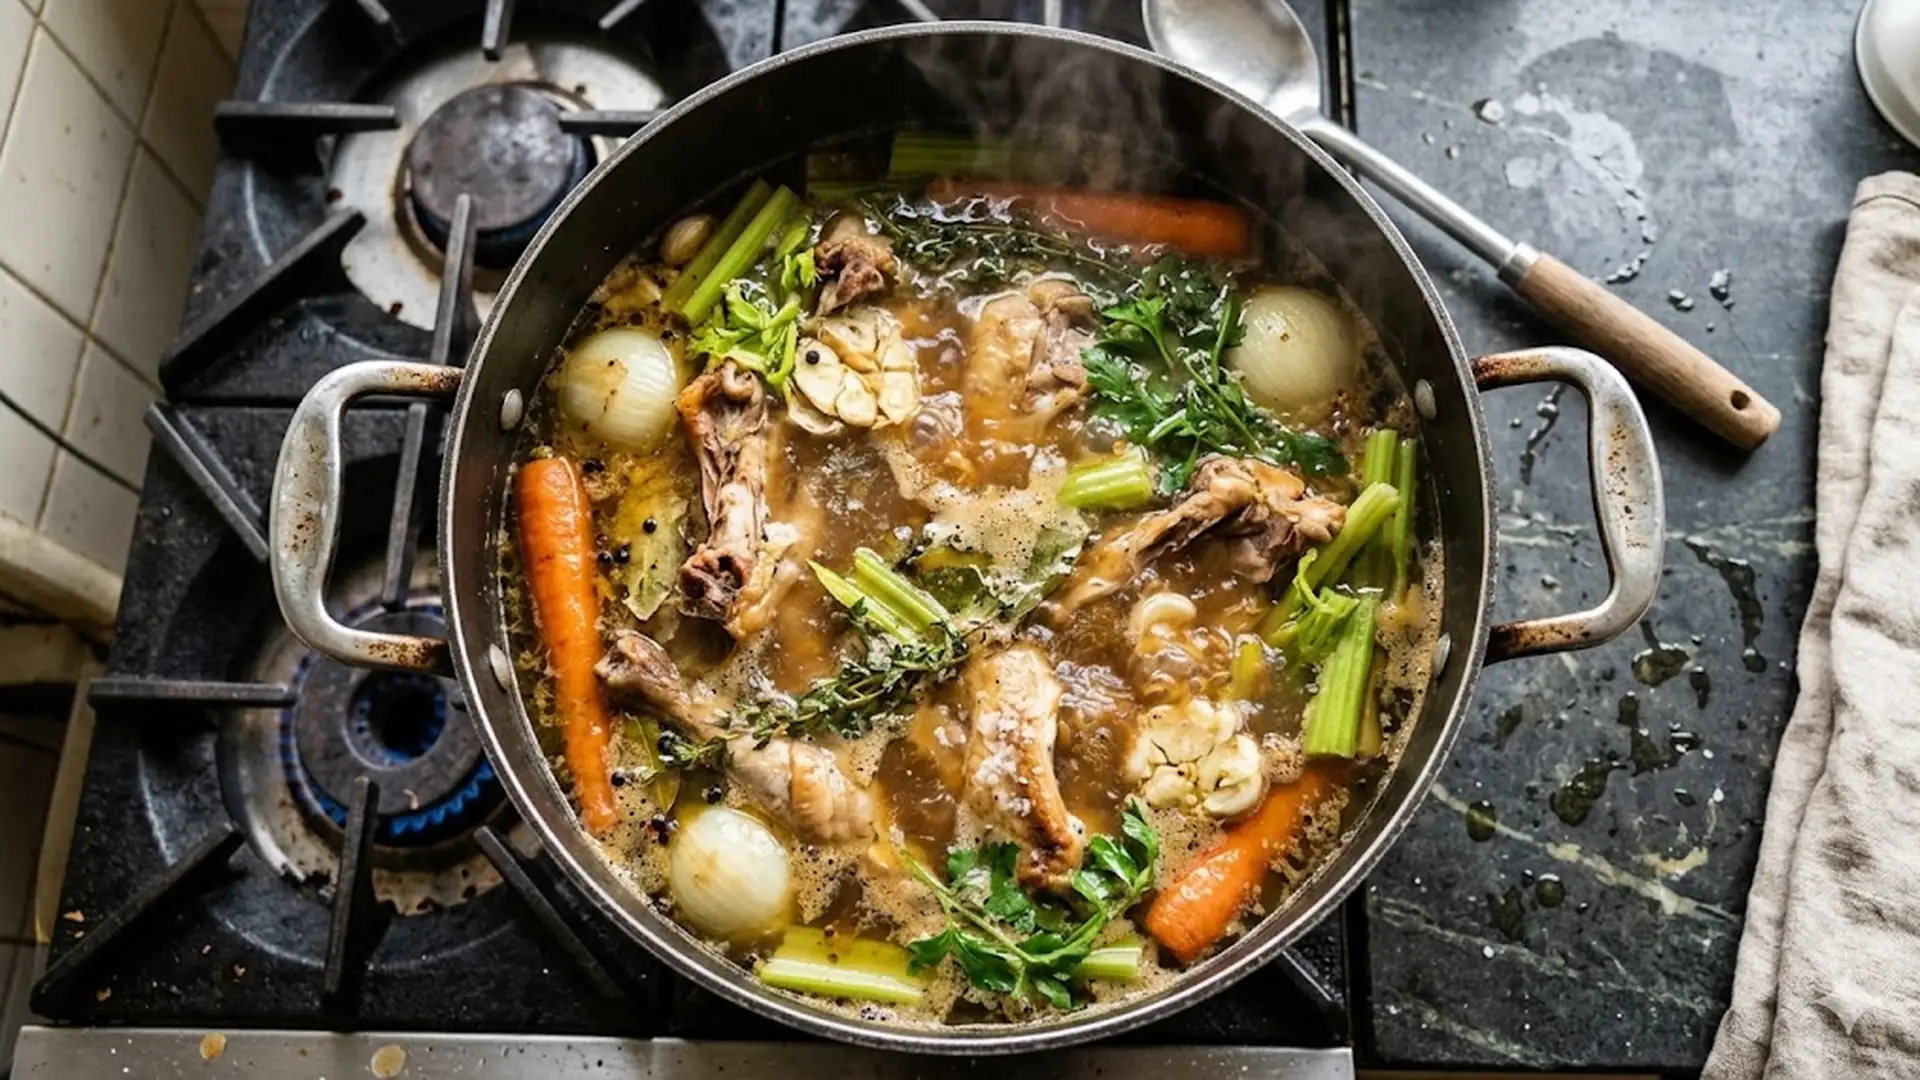
Put the bones or carcass in a pot and cover with cold water by about 5 cm (2 inches). Place the pot over medium heat and bring it up slowly. Do not start with boiling or even hot water. The reason: as temperature rises from cold, blood proteins and soluble impurities migrate gradually to the surface as grey-brown foam. You can skim them cleanly. If you start with hot water, those proteins seize and coagulate instantly on contact, trapping impurities inside the liquid before they ever reach the surface. The result is a murky stock that cannot be clarified by skimming. An optional pre-step for beef and veal: roast the bones in a hot oven (220C / 425F) for 30 to 40 minutes before starting. This builds the Maillard flavour compounds that give brown stock its depth. For white chicken stock, skip this step.
Step 2. Find 85C and stay there
Once the first foam has risen and you have skimmed it off (this takes about 20 to 30 minutes of gentle heating), reduce the heat until you reach a bare simmer: a few lazy bubbles breaking the surface every few seconds. That is roughly 85C (185F). You can verify with a thermometer. The practical visual: surface trembles and the occasional bubble breaks, but the liquid is not bubbling actively. If the surface is broken by a continuous ring of small bubbles around the edge, you are too hot. Turn the heat down. Maintain this throughout the cook. If your heat source is uneven, check every 30 minutes. One period of hard boiling is enough to emulsify the fat permanently.
Step 3. Skim in two phases
Phase one, the first 30 minutes: skim every 5 to 10 minutes. Grey-brown foam rises heavily in this window. Remove it with a wide spoon or ladle, tilting the pot to pool the foam at one edge. Do not stir the stock while skimming. Phase two, the rest of the cook: skim every 30 minutes, or as foam or fat collects. After the first hour, most of the impurities are gone. What rises now is primarily fat, which is easier to skim after chilling (see Step 6) but can be removed hot if needed. Do not add vegetables or herbs in the first 30 minutes. The foam phase needs to run clean.
Simmer time by protein type
| Stock type | Simmer time | Key note |
|---|---|---|
| Chicken (whole carcass or wings) | 3 to 4 hours | Past 6 hours, flavour degrades |
| Beef or veal (joints and knuckles) | 6 to 8 hours | 12 hours for maximum collagen |
| Fish (frames and heads, no gills) | 20 to 30 minutes | Goes bitter past 45 minutes |
| Vegetable (roots and aromatics) | 45 to 60 minutes | Goes bitter past 90 minutes |
| Pressure cooker chicken | 1 to 1.5 hours | Slightly cloudier, same flavour |
Step 4. Add aromatics at the right time
For chicken and vegetable stocks: add onion, celery, carrot, peppercorns, bay leaf and thyme once skimming is done, roughly 30 minutes in. No salt. For beef stock: add roasted vegetables (onion, carrot, celery, tomato paste) about one hour in, once the initial scum phase is complete. The tomato paste adds colour and acidity. The classic ratio: roughly one part aromatics to four parts bones by weight. Keep garlic to a small amount (one or two cloves); too much turns the stock bitter on a long cook.
Step 5. The two-stage gel test
Gel is what you are after. A properly extracted stock sets to a loose jelly when cold, which means your sauces will have body and your soups will have a silky mouthfeel. Mid-cook finger test: about two thirds of the way through the cook time, scoop a small spoonful of stock and let it cool for a minute. Rub it between thumb and finger. If it feels distinctly tacky or sticky, gelatin is developing. If it feels completely watery, either extend the cook time by 30 to 60 minutes or accept a lighter result. Post-cook fridge test: once strained, pour a small amount into a bowl and refrigerate for two hours. Quality result: sets to a soft, loose jelly that wobbles when you tip the bowl. Best result for beef: almost solid when cold, lifting cleanly away from the bowl. If it stays liquid, the collagen extraction was incomplete: good for a light soup, not for sauces.
Step 6. Strain, cool safely, store
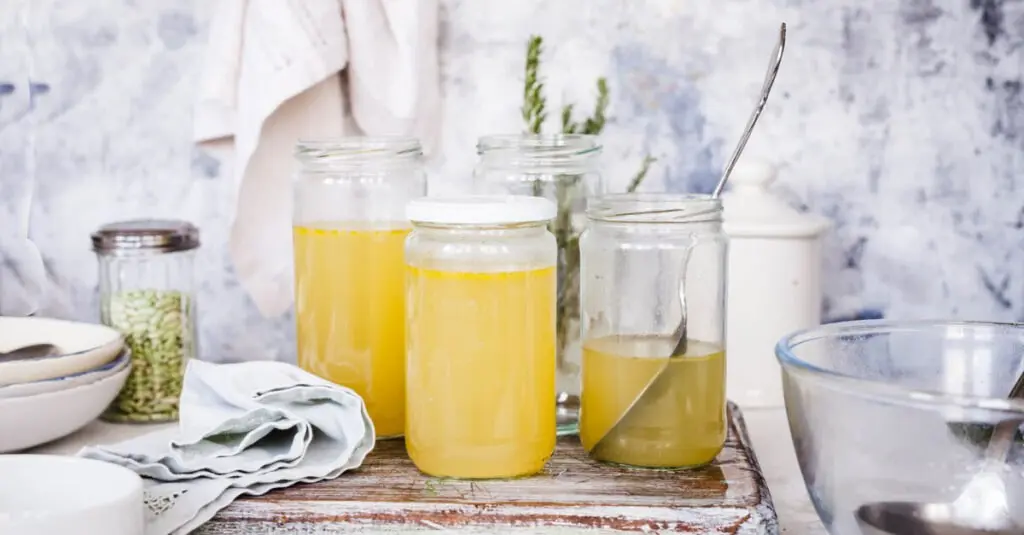
Strain through a fine-mesh sieve or a colander lined with cheesecloth. Do not press the solids (pressing releases cloudy particles). Let them drain by gravity. Cooling quickly is a food safety requirement, not a preference. Stock must reach below 70C within two hours before refrigerating. Set the pot in a sink filled with ice water and stir occasionally. Alternatively, pour into shallow containers to increase surface area. Once cold, a solid cap of fat forms on top. Lift it off in one piece before using. For the clearest possible stock, do not reheat before this step.
Storage at a glance
| Method | Duration | Note |
|---|---|---|
| Refrigerator | 4 to 5 days | Cover tightly; fat cap can stay on until use |
| Freezer | Up to 6 months | Freeze in 500 ml portions for easy use |
| Reduced to demi (1/4 volume) | Up to 2 weeks refrigerated | Salt only after reducing |
| Ice cube trays, then bag | Up to 6 months | Convenient small portions for pan sauces |
Never season stock with salt during cooking. Reduction concentrates everything in the liquid. A stock that tastes correctly seasoned at full volume will become intolerably salty if you reduce it to a demi-glace. Always add salt in the final dish, never in the pot.
To make demi-glace at home: strain a good gelatinous beef or veal stock, then reduce it slowly over low heat until it has thickened to roughly one quarter of its original volume. It should coat the back of a spoon and set almost firm when cold. This keeps for two weeks in the fridge and is the backbone of classical French sauces.