Solder your first joint and read it right
One technique, two seconds, one rule that covers everything
Soldering is the skill of joining metal with metal using a low-melting alloy. Once you understand the one rule that governs every joint, temperature control and joint diagnosis follow naturally. The rule: heat the joint, not the solder. Touch the iron to the pad and the component lead together, let both reach temperature, then feed solder into the joint. Solder drawn into hot metal flows flat and bonds cleanly. Solder dripped onto a cold surface stays lumpy and unreliable. This tutorial covers through-hole soldering, the right format for a first learner. Through-hole components have wire leads that pass through holes in a circuit board, giving the iron a generous target and forgiving geometry. Surface mount components come later.
Session time
30 to 60 minutes to make a first clean joint
Difficulty
Beginner, no prior electronics experience needed
Starter budget
Around $30 to $50 USD (iron, solder, practice kit)
Iron wattage
30 to 60 W with temperature control
Solder wire
60/40 rosin-core, 0.6 to 0.8 mm diameter
You need
Iron, solder, brass tip cleaner, helping hands or PCB vice
What you will need and what to skip
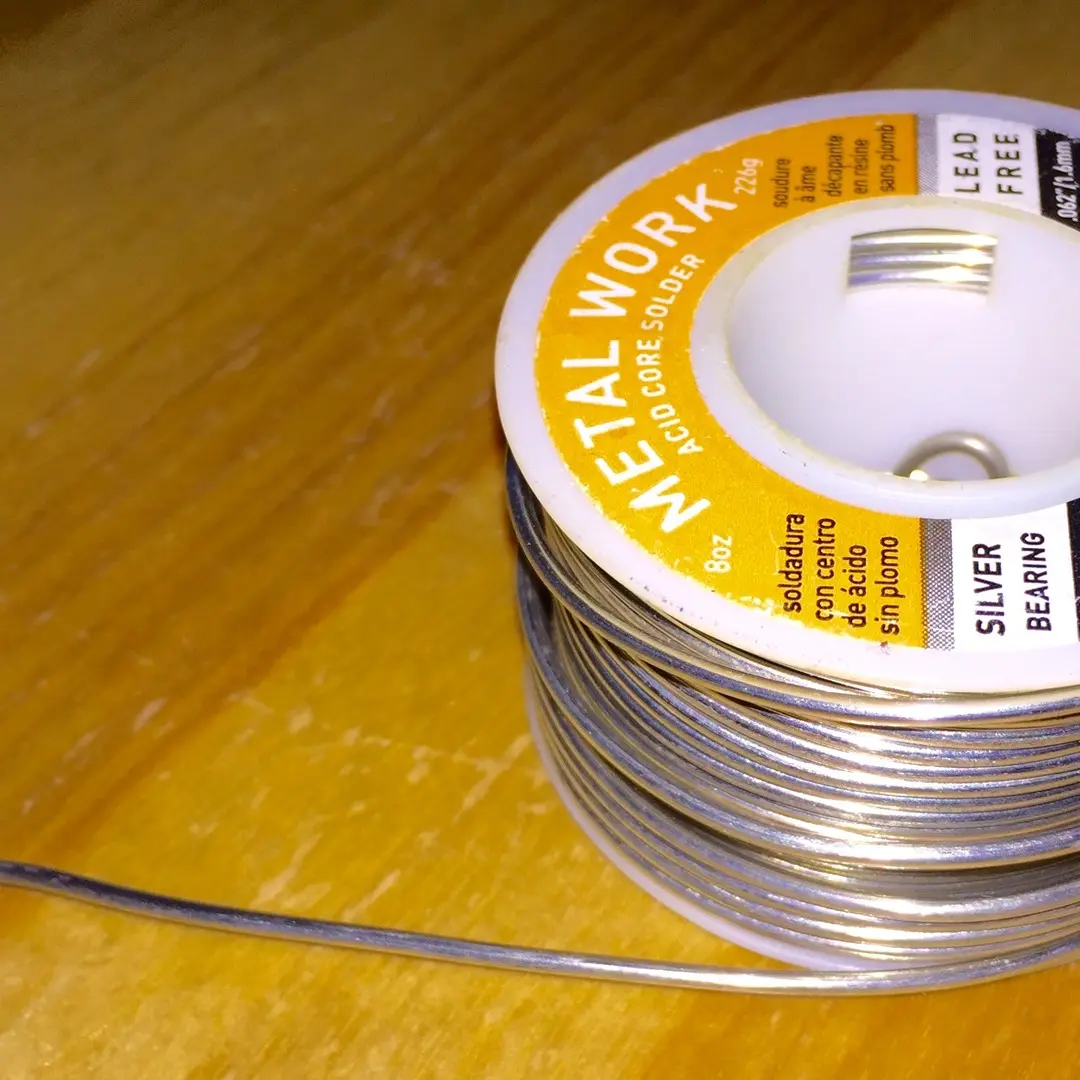
A temperature-controlled iron rated 30 to 60 W is the single most important purchase. Fixed-temperature irons exist below $10, but their tip fluctuates with load and they overheat delicate components. A station like the TS80P or any entry-level Hakko or Weller sets the correct temperature and holds it. Solder: 60/40 tin-lead rosin-core wire, 0.6 to 0.8 mm diameter. The 60/40 ratio melts at 183 C and flows well at typical iron settings. The rosin core is flux built into the wire. You do not need extra flux to start, though a small jar of rosin paste flux is useful when you encounter stubborn joints. Tip cleaner: brass wool, not a damp sponge. A sponge cools the tip sharply with every wipe and stresses it. Brass wool cleans without temperature shock. Keep it next to the iron stand. Skip for now: flux paste, desoldering wick, hot air station. Learn one joint well before adding tools.
Temperature by task (leaded 60/40 solder)
| Task | Temperature C | Temperature F | Notes |
|---|---|---|---|
| Small SMD (passive) | 300 to 325 | 570 to 620 | Rarely needed in through-hole work |
| Through-hole components | 315 to 340 | 600 to 650 | Standard setting for most work |
| Thin wire, 26 to 22 AWG | 320 to 340 | 610 to 645 | Same as through-hole |
| Thick wire, 20 to 16 AWG | 340 to 360 | 645 to 680 | More mass needs more heat |
| Large pads and ground planes | 340 to 370 | 650 to 700 | Ground pours sink heat fast |
| Desoldering | 325 to 360 | 615 to 680 | 10 to 30 C above your soldering setting |
Lead-free solder (SAC305) melts at 217 C and needs a higher iron setting: 350 to 380 C for through-hole work. If your solder is not flowing smoothly at 340 C, check the spool. SAC305 wire is silver-grey; 60/40 is shinier.
Step 1: tin the tip before every session
A fresh or oxidised tip is dark, rough and will not transfer heat. Tinning coats the tip in a thin layer of solder that protects it and improves contact. Heat the iron to your working temperature. Touch solder wire to the tip until the whole working surface is covered in bright, liquid solder. Wipe gently on the brass wool. Repeat once. The tip should look shiny and silver. Tin the tip again at the end of the session before switching off. The solder coat protects the iron alloy from oxidising overnight.
Step 2: prepare the board and component
Insert the component lead through the hole until it sits flush with the board. Bend the lead very slightly outward on the solder side, about 15 degrees, to hold it in place while you solder. This is called clinching. The pad (the copper ring around the hole) must be clean. A new practice board needs no preparation. On a used board, clean tarnished pads with a cotton bud and isopropyl alcohol before soldering.
Step 3: make the joint in four moves
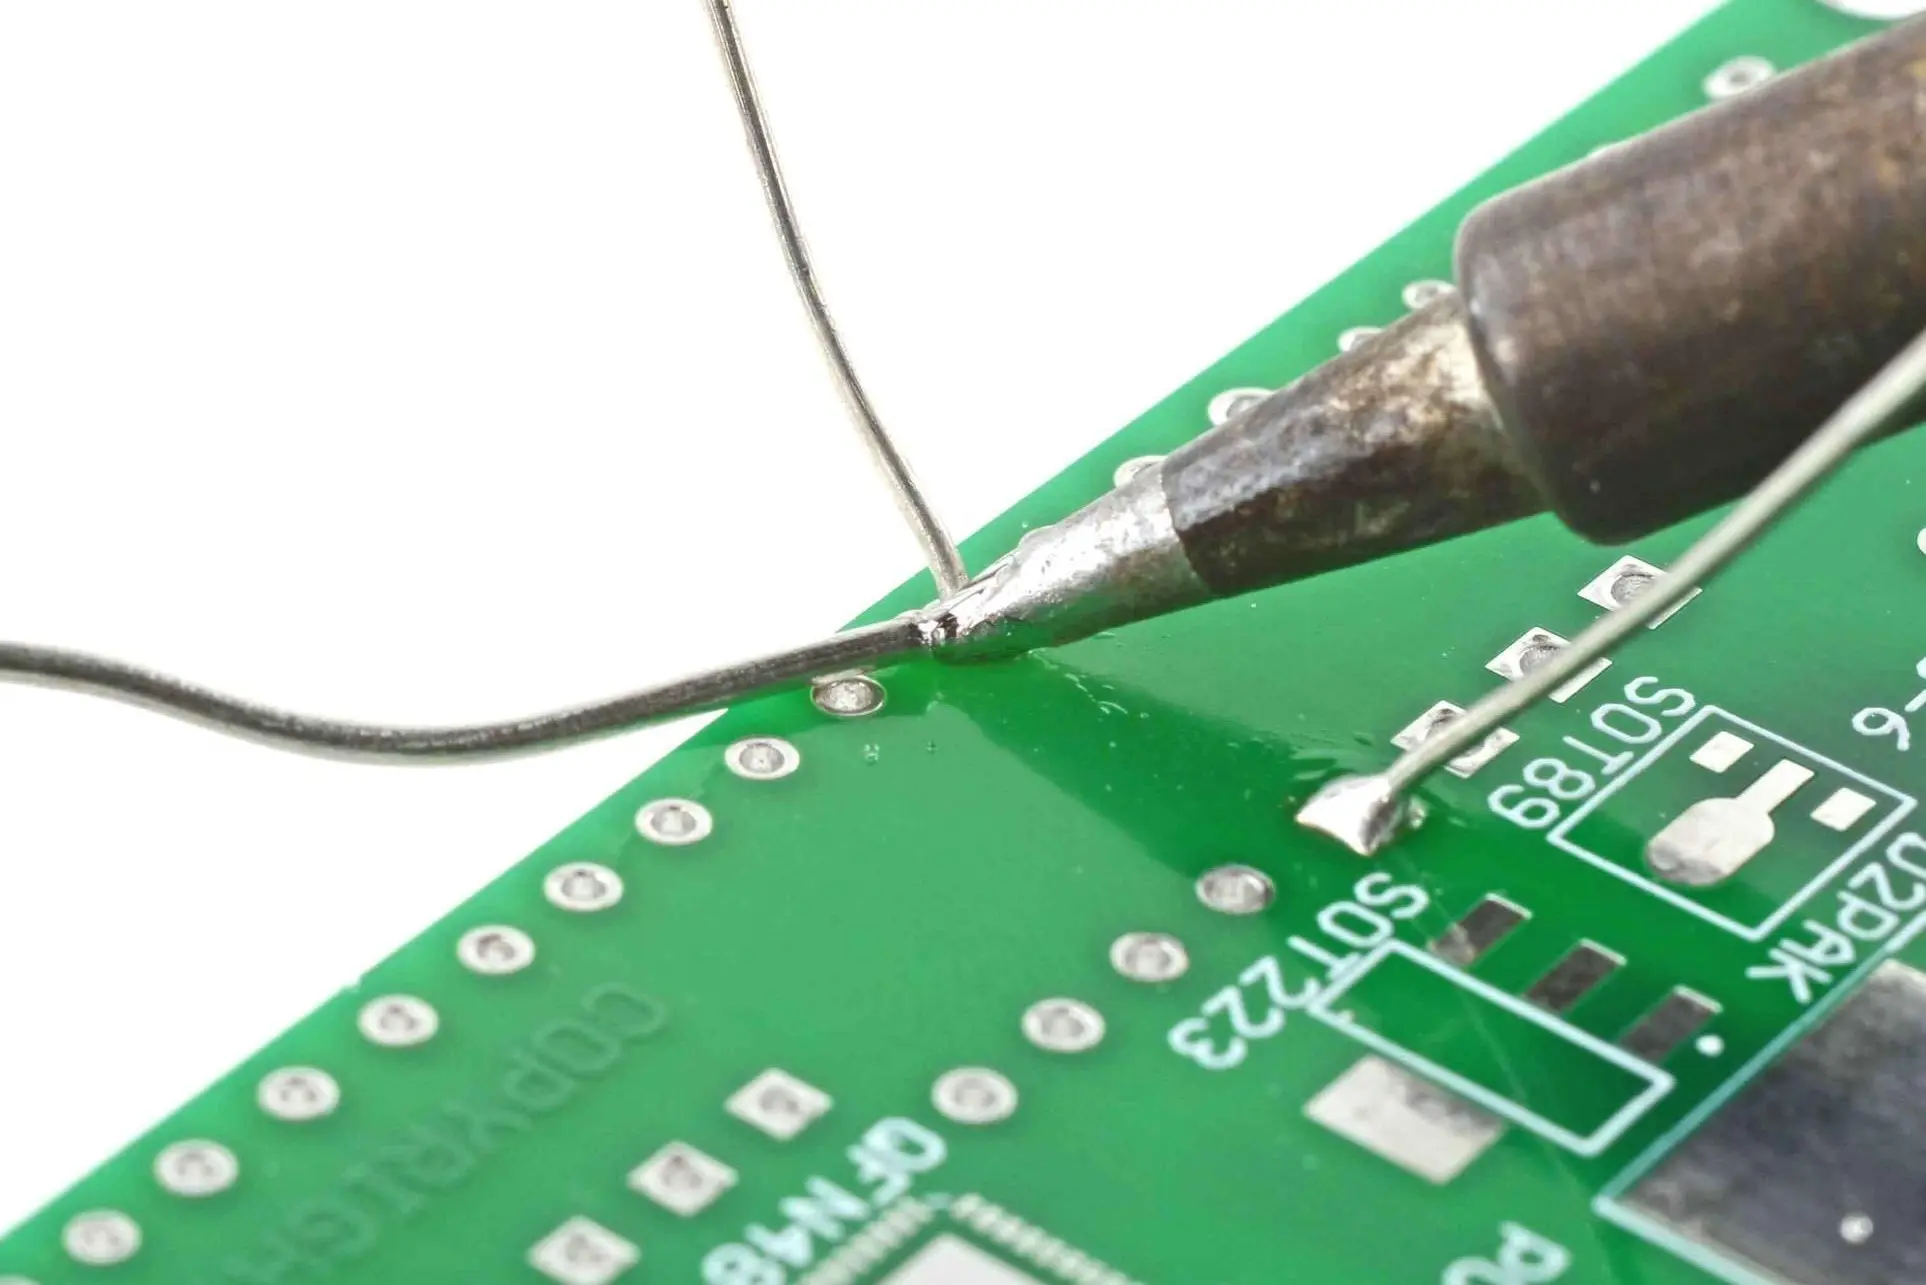
The whole technique is four moves that take about five seconds total. Move 1: touch the iron tip to the pad and the lead simultaneously. Hold for one to two seconds. Both surfaces must reach temperature before solder is introduced. Move 2: feed solder wire into the joint from the opposite side to the iron. The solder should flow immediately into the joint without any pressure. If you are pushing solder, the joint is not hot enough yet. Wait one more second. Move 3: remove the solder wire first, then lift the iron. Never remove the iron first, as the solder will sag where the iron tip was. Move 4: do not move the board or the component for three seconds. Even slight movement while the solder is solidifying creates a cold joint. Watch for the solder to go from liquid-shiny to matte as it sets.
Step 4: read the joint before you move on
Inspect every joint before you solder the next one. Good inspection habits catch problems while they are still easy to fix. A good joint: smooth, shiny surface; concave cone shape (the solder is drawn inward around the lead, not piled on top); the lead is visible at the tip of the cone; the whole pad is covered. The texture should look like a small volcano with sloped sides. A bad joint is visible immediately once you know what to look for.
Joint quality visual guide
| Appearance | Name | Cause | Fix |
|---|---|---|---|
| Shiny, concave cone, full pad coverage | Good joint | Correct technique | None |
| Dull, grainy, rough surface | Cold joint | Joint moved during cooling, or not hot enough | Reheat until solder flows, hold still |
| Rounded ball of solder, no cone shape | Insufficient heat | Solder applied before surfaces were hot | Remove solder, reheat longer |
| Solder bridges to adjacent pad | Solder bridge | Too much solder, or iron touched nearby pad | Wick away excess with desoldering braid |
| Solder sits only on lead, not on pad | Dry joint | Pad was oxidised or not heated | Clean pad, re-solder |
| White powdery residue around joint | Flux residue | Normal with rosin-core solder | Clean with IPA and a cotton bud if desired |
Step 5: tip care and session end
The most common reason joints get worse through a session is a dirty tip. Wipe the tip on brass wool before every joint. After every five joints, re-tin. If the tip turns black and solder will not stick to it, the tip is oxidised. The fix: heat to 300 C, touch solder to the tip, wipe, repeat three times. Most tips recover. If the coating is worn through to bare copper, replace it. Do not leave the iron at full temperature for more than 10 minutes without using it. Set a low standby temperature (around 150 C) if your station has one, or switch it off.
Troubleshooting table
| Symptom | Most likely cause | Fix |
|---|---|---|
| Solder will not flow onto joint | Tip oxidised, or joint too cold | Re-tin tip, hold iron longer before adding solder |
| Joint looks dull after cooling | Component moved during solidification | Reheat joint, hold components still for 3 seconds |
| Pad lifts off the board | Held iron too long | Replace trace with wire jumper; limit heat to 3 seconds |
| Adjacent components turn brown | Too much heat or wrong temperature | Lower iron to 315 to 320 C, reduce contact time |
| Solder balls form around joint | Flux splatter from wet solder | Use dry solder, check for moisture in work area |
| Iron tip pits and blackens fast | Temperature too high with no solder | Lower temperature, tin immediately after each joint |
Lead in 60/40 solder is a mild hazard with sensible precautions: solder in a ventilated space, wash hands after a session, and do not eat or touch your face while working. The fumes from rosin flux are mild irritants for some people. A small fan blowing across the work area is enough ventilation for hobby sessions.
First projects to build the skill
Practice on a kit rather than a live circuit. A kit gives you a solder target (component on a PCB) in a forgiving format, with a completed circuit as the reward. Through-hole kits from Adafruit, SparkFun, and Velleman are designed exactly for this. Suggested progression: (1) a 555 timer blink kit or LED dice kit with resistors and a chip socket, 10 to 20 joints, all the same technique; (2) a simple audio amplifier with electrolytic capacitors, which adds polarity awareness; (3) a kit with a mixture of component types (transistors, potentiometers, connectors). Avoid anything surface-mount until you can make 20 through-hole joints in a row that all pass the visual check.