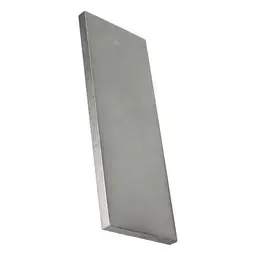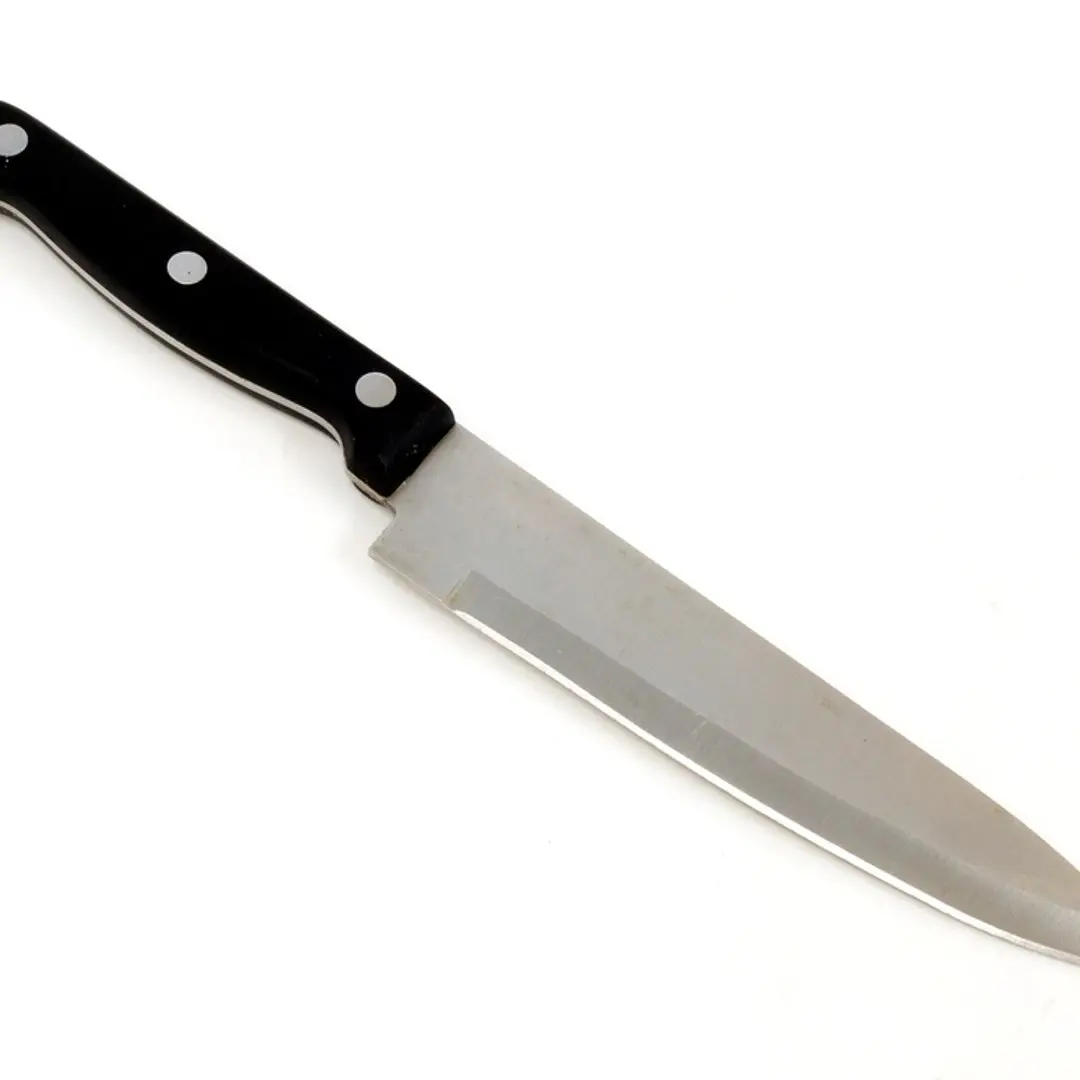
Sharpen a Kitchen Knife on a Whetstone
The one skill every cook eventually needs
Every whetstone guide you will find online is written by someone selling knives. Montana Knife Company, Yuzu Knives, Dalstrong, Seido: all good companies, all with a reason to steer you toward a particular stone or a particular blade style. This page is not that. Sharpening a kitchen knife on a whetstone takes about fifteen minutes once you know what you are doing. The most important thing is not the stone, not the angle, and not the number of strokes. It is consistency: a steady angle held all the way from heel to tip. Every other rule exists to serve that one.
Before you touch the stone: honing is not sharpening
This distinction trips up beginners more than any other. Honing realigns the microscopic bends in the blade's cutting edge. No metal is removed. A steel or ceramic honing rod is the right tool. It takes ten seconds and should happen every two or three uses. Sharpening removes metal to create a new edge entirely. A whetstone is the right tool. It takes fifteen minutes and should happen two to four times per year, or whenever honing no longer restores a working edge. If you hone regularly, sharpening sessions are shorter and your knives last longer because you remove less steel each time.
Stone types: soaking vs splash-and-go
Most beginner confusion about whetstones comes down to not knowing which type you have. Treating a splash-and-go stone as a soaking stone (or the reverse) causes cracking, uneven sharpening, or a stone that glazes over and stops cutting after a few strokes. The bubble test settles it in one minute: submerge the dry stone for one minute and watch. A steady stream of bubbles means the stone is absorbing water. It is a soaking stone. Almost no bubbles means it is dense and non-absorbent. Treat it as splash-and-go.
Classic water stones (King, Cerax, Suehiro)
Soak 5 to 15 min, until bubbles stop rising.
Fine finishing stones (3000 grit and up)
Splash-and-go only. Soaking can crack them.
Resin-bonded and ceramic stones (Shapton Glass)
Splash-and-go. Wet the surface before use.
Diamond plates
Splash-and-go. A little water only, to flush metal filings.
Oil stones (Arkansas, India)
Never soak in water. Use honing oil only.
Over-soaking a soaking stone softens the binder. Fifteen minutes in water is the maximum. Check the manufacturer's instructions for your specific stone. When in doubt, the bubble test is authoritative.
Grit: what the numbers mean and what you actually need
Grit describes how abrasive the stone's surface is. Lower numbers cut more aggressively and remove metal faster. Higher numbers polish the edge and leave a finer finish. For most home cooks, one combination stone (1000 grit on one side, 6000 on the other) handles everything. A coarser stone (220 to 400 grit) is worth adding only if you have a chipped or heavily damaged blade.
220 to 400 grit
Repair work only. Chips, rolled edges, reprofile a damaged blade.
1000 grit
Standard sharpening. This is where you create the new edge.
3000 to 4000 grit
Intermediate polish. Optional but useful for harder steels.
6000 grit
Final polish. Refines the edge after 1000-grit work. The finish side of most combo stones.
8000 grit and above
Mirror finish. Not needed for kitchen knives. More relevant to straight razors.
Angles: Western knives vs Japanese knives
The bevel angle determines how thin and how sharp the edge becomes. Thinner (lower angle) cuts more precisely but chips more easily. A slightly wider angle holds up better to daily use. Western-style knives (German chef's knives, most supermarket knives) are sharpened at 20 degrees per side. Japanese-style knives (gyuto, santoku, petty) use 15 degrees per side. The simplest way to find your angle without a guide: hold the blade perpendicular to the stone (90 degrees), halve it to 45, halve it again. That is roughly 22 degrees. For a Western knife, hold there. For a Japanese knife, lower the spine slightly until the gap is a little narrower. Two stacked pennies under the spine gives roughly 15 to 17 degrees on most blades. Consistency beats precision. An edge held at a steady 18 degrees is far better than one that wobbles between 12 and 25.
The seven steps
These steps apply to a 1000-grit soaking stone and a standard double-bevelled chef's knife. Japanese single-bevel knives use a different technique and are not covered here.
[ ] Soak the stone for 5 to 15 minutes (or until bubbles stop). Keep a cup of water nearby to refresh the surface during sharpening.
Place the stone on a damp folded towel to stop it sliding. Coarse side up.
Hold the knife at your target angle (20 degrees for Western, 15 degrees for Japanese). Anchor two or three fingertips on the flat of the blade to maintain that angle.
Push the knife forward and across the stone in one sweeping motion: the contact point moves from heel to tip as the blade travels across. Apply moderate pressure on the forward stroke. Ease off on the return.
After 10 to 15 strokes, run a fingertip from the spine toward the edge on the opposite side. Feel for a burr: a faint rough ridge of displaced metal. That burr is your confirmation the edge has been worked all the way to the apex.
Flip the knife and repeat on the other side. Work until the burr moves back to the first side. Match your stroke count on both sides to keep the edge centred.
Flip the stone to the 6000-grit side. Repeat with lighter pressure, five to eight strokes per side. This removes the burr and polishes the edge.
The grey slurry that forms as you work is normal and helpful. It is water mixed with abrasive particles from the stone and metal from the blade. Do not rinse it away mid-session. It accelerates cutting and helps the stone perform evenly.
Testing the finished edge
Three quick tests, in order of how much you should care: The paper test: hold a sheet of printer paper by one corner and draw the knife downward through it. A sharp edge cuts cleanly. A dull edge drags or tears. The fingernail test: rest the edge on your fingernail at about 45 degrees. A sharp edge catches immediately. A dull one slides. The tomato test: use the knife in the kitchen. A properly sharpened knife glides through the skin of a ripe tomato with zero pressure.
Stone maintenance: flattening
A whetstone develops a hollow in the middle after repeated use because that is where most of the contact happens. A dished stone cannot hold a consistent angle, so the outer edges of the blade receive more or less pressure than the centre. The result is an uneven edge even with perfect technique. Flatten your stone every 10 to 15 sharpening sessions, or as soon as you notice the surface feels uneven. The tool is either a diamond flattening plate or a dedicated lapping stone (sometimes called a nagura). Rub the whetstone against the flattening plate in circular motions until the surface is uniformly level and no low spots are visible. Dry the stone thoroughly after each use before storing it. Leaving a soaking stone submerged between sessions softens the binder over time.
Hone before every use, sharpen when honing no longer works. Sharpen on 1000 grit until a burr forms, polish on 6000 grit to remove it. Flatten the stone every 10 to 15 sessions. That maintenance loop keeps any kitchen knife in working condition indefinitely.