Make your first soy candle in an afternoon
Most candle tutorials bury the one number you actually need.
The fragrance load percentage tells you how much scent to add per pound of wax. Get it wrong and you either waste oil or end up with a candle that smells of nothing when lit. This tutorial gives you the exact figures from CandleScience (the standard supplier reference for hobbyist candle makers) plus the wick sizing table that most guides leave in a separate page. Two hours, around $35, and you end with three scented soy container candles that cure for a week and then burn clean.
Active time
About 45 minutes
Curing time before first burn
1 week (mandatory)
Difficulty
Beginner, no prior experience needed
Yield
3 candles from a 1 lb batch
Estimated cost for first batch
Around $35 USD
Step 1. Gather your supplies: wax, jars, wicks and fragrance
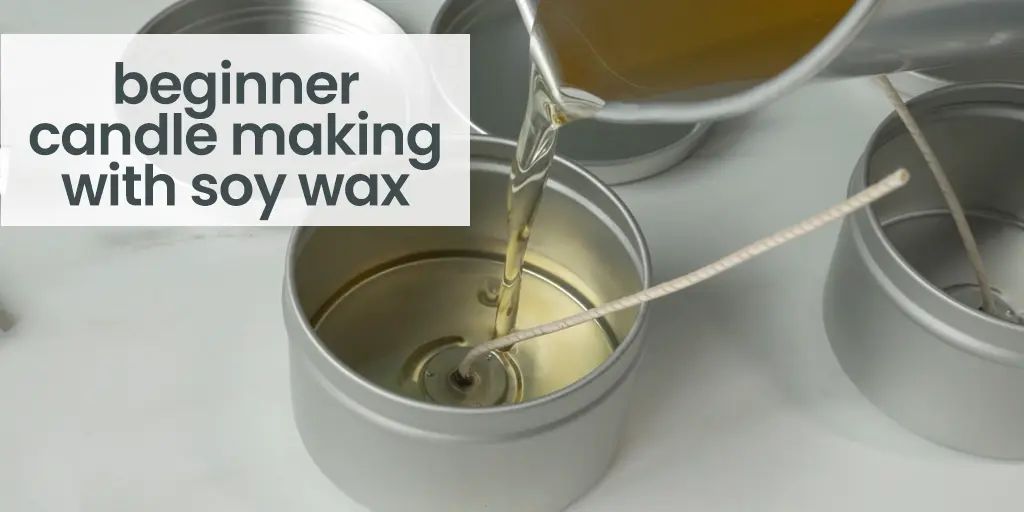
You need six items. Nothing here requires a specialist shop: most are available on Amazon or at a craft store. Wax. Use CandleScience SimplySoy Artisan Wax or any 464 soy container wax. One pound of wax fills three 8 oz jars. A one-pound bag costs around $4 to $6. Container. Straight-sided glass jars work best. The 8 oz straight-sided tumbler (roughly 2.75 to 3 inches in diameter) is the standard beginner choice. Three jars cost around $8 to $12. Wicks. Pre-tabbed cotton wicks with a metal base. The right size depends on your jar diameter (the sizing table is in Step 3 below). Fragrance oil. Use candle-specific fragrance oil, not essential oil from a health shop. One ounce per pound of wax is the correct starting amount ($3 to $6 per oz).
Step 1 continued. Tools you need
A heat-safe pouring pitcher, a glass thermometer (essential: do not skip this), a stirring spatula, and wick stickers or a small drop of hot glue to fix each wick to the jar base. You also need a wick bar or pencil to hold wicks centered while the wax sets. Total outlay for a first batch: roughly $35, including jars.
Step 2. Set up a double boiler and melt the wax
Fill a medium saucepan one third of the way with water and set it on a burner over medium heat. Place your pouring pitcher inside. Add 454 grams (1 lb) of soy wax flakes. Heat the wax to 185 degrees F (85 C), stirring occasionally. Use the thermometer: soy wax looks fully melted well before it reaches the right temperature, so do not guess. If you do not have a double boiler, a heat plate under the pitcher works. Do not leave the melting wax unattended. Wax above 200 F is a fire risk.
Step 3. Prepare your jars and choose the right wick
While the wax heats, clean each jar with a small amount of isopropyl alcohol on a paper towel. This removes oils that cause the wax to pull away from the glass. Attach a wick to the base of each jar using a wick sticker or a tiny drop of hot glue. The wick must sit dead center: use a wick bar (a metal or wooden bar that clips the wick upright) or tape a pencil across the jar mouth and wind the wick around it. Choosing the right wick size is the most important variable for a clean burn. A wick that is too large produces a sooty flame and burns through the wax too fast. Too small and you get tunneling: a narrow channel down the center, wax wasted on the walls.
Under 2 inch jar diameter
CD 8 to CD 10 cotton wick
2.5 inch diameter
CD 12 to CD 14 cotton wick
3 inch diameter
CD 18 to CD 20 cotton wick
3.5 inch diameter
CD 22 to CD 24 cotton wick
Over 4 inch diameter
Use two wicks, not one larger wick
These sizes are calibrated for soy wax at 7 to 8 percent fragrance load with no dye. If you add dye, go one wick size larger. Always do a burn test: the melt pool should reach the jar wall within 4 hours and the flame should stay under 0.75 inch.
Step 4. Add fragrance at 185 F, then pull off the heat
When the wax hits 185 F, weigh out your fragrance oil. The standard load for soy wax is 6 to 10 percent by weight. Start at 6 percent (about 27 grams or 1 oz for a 454 g batch). Going above 10 percent causes the oil to pool on the wax surface rather than binding. Add the fragrance oil to the wax and immediately remove the pitcher from the heat. Stir gently but continuously for two minutes. Do not rush this step: the fragrance needs time to bind fully with the wax.
Step 5. Pour between 135 F and 160 F
Let the wax cool in the pitcher, stirring every few minutes, until it reaches 135 to 160 degrees F (57 to 71 C). Pouring too hot causes sinkholes as the wax contracts; pouring too cold creates a rough, lumpy surface. Pour steadily and slowly to within a quarter inch of the jar rim. Secure each wick bar or pencil across the top so the wick stays centered. Leave the candles on a flat surface at room temperature. Do not move them for at least four hours. If a small sinkhole forms around the wick as the wax cools (common with soy wax), do a second pour with a small amount of leftover wax reheated to 135 F. Pour only over the sinkhole, not the whole surface.
Step 6. Trim the wick and cure for one week
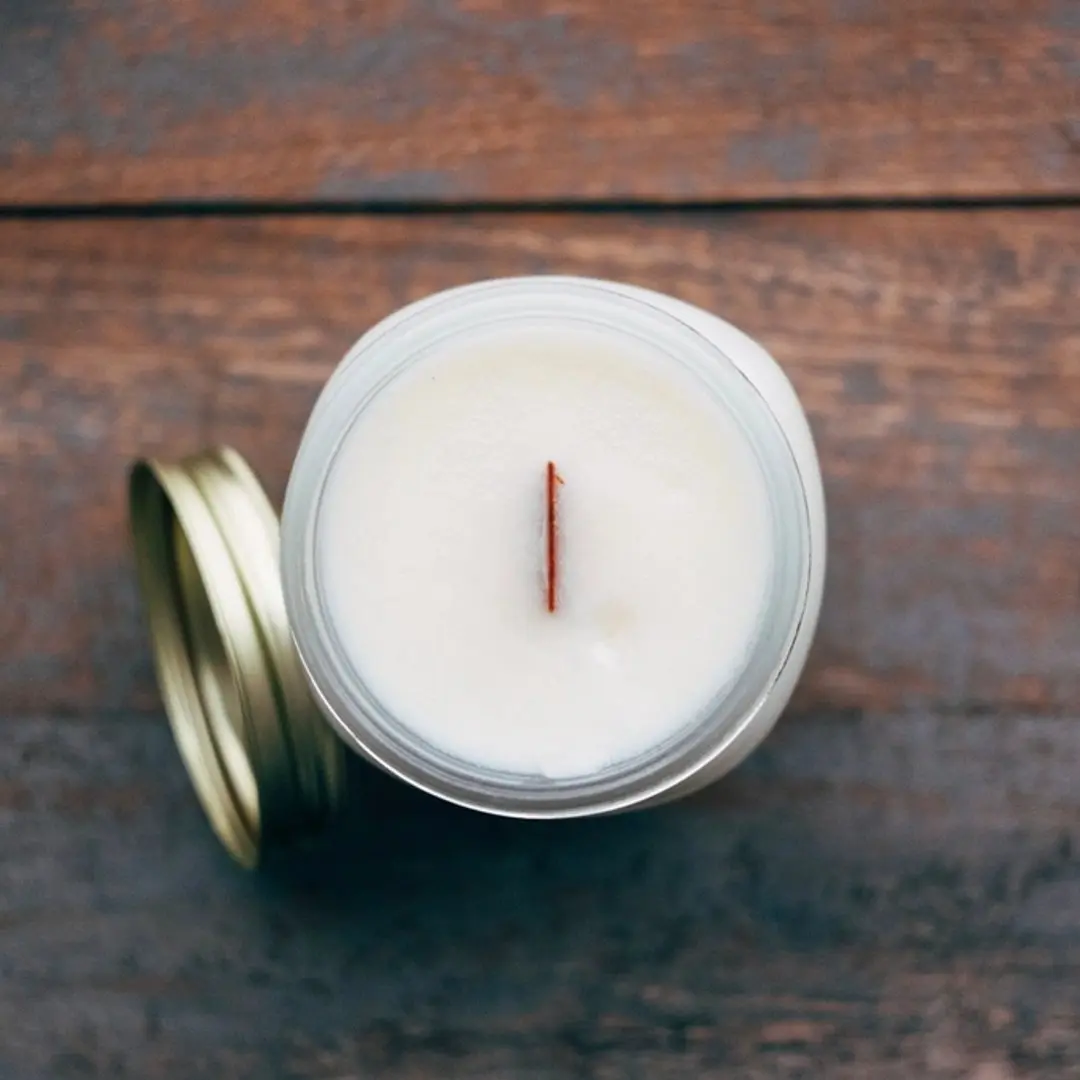
Once the wax is completely solid, trim each wick to one quarter inch (6 mm) with scissors. Wicks left longer than that produce a large, sooty flame on first burn. Leave the candles to cure, uncovered, at room temperature for a minimum of seven days before lighting. This step is almost always skipped by first-time makers, and it matters: soy wax needs time for the fragrance molecules to bind fully with the wax matrix. A candle burned on day two has noticeably less hot throw (scent when lit) than the same candle burned on day nine. Two weeks is better than one.
The two most common first-batch failures are tunneling (wick too small or candle burned in short sessions) and no hot throw (skipped curing, or fragrance added above 185 F when it flashes off). If your candle smells strong cold but not when lit, the fragrance was added too hot or the candle was not cured long enough.