Grow Garlic at Home: Timing and What Goes Wrong
Most garlic guides give you the same loop
Plant in autumn, mulch, harvest when the leaves die back, cure for a few weeks. That loop is correct. It is also incomplete in three ways that trip up almost every beginner. The variety most guides recommend may not suit your climate. The harvest signal (count the leaves) is explained once and never connected to why it matters. And when something goes wrong, you are on your own because almost no guide includes a troubleshooting table. This one does.
Hardneck or softneck: the first decision
The two types have different wrappers, different flavours, different storage lives, and different climate requirements. This is the choice to make before you order seed garlic. Hardneck garlic grows a central woody stalk (the neck). It produces 4 to 8 large cloves arranged in a single ring, with complex flavour and thin papery skin. The tradeoff: 3 to 6 months of storage only, and it needs a cold winter to vernalise properly. Hardneck thrives in USDA zones 3 to 8. Softneck garlic has no central stalk. It produces 10 to 20 smaller cloves in two or three layers. Milder in flavour, but storage stretches to 9 to 12 months, and it handles mild winters without vernalisation. Softneck works in all zones and is what supermarkets sell because it ships and stores so well. The practical rule: if your winters reliably freeze the ground (zones 3 to 7), grow hardneck. If your winters are mild and you want long shelf life (zones 8 to 10 or the southern hemisphere), grow softneck.
Variety quick-reference by climate
| Variety | Type | Subtype | Zones | Cloves | Storage | Notes |
|---|---|---|---|---|---|---|
| Music | Hardneck | Porcelain | 3 to 8 | 4 to 6 large | 6 months | Bold flavour. Beginner-friendly. Very large bulbs. |
| Chesnok Red | Hardneck | Purple Stripe | 3 to 8 | 8 to 12 | 5 months | Excellent for roasting. Retains flavour when cooked. |
| German Red | Hardneck | Rocambole | 4 to 7 | 8 to 10 | 4 months | Rich complex flavour. Needs cold winters. |
| Inchelium Red | Softneck | Artichoke | All zones | 8 to 20 | 9 to 12 months | Mild flavour. Adapts well to warmer zones. |
| Silverskin | Softneck | Silverskin | All zones | 12 to 20 | 10 to 12 months | Longest storage. The braiding variety. |
| Thermadrone | Softneck | Artichoke | Zones 7+ | 10 to 15 | 8 to 10 months | Good choice for mild-winter climates. |
When to plant: 4 to 6 weeks before the first hard freeze
Garlic needs cold to vernalise: a period of near-freezing temperatures that triggers bulb formation the following spring. Plant too late and the cloves do not establish roots before the ground freezes. Plant too early and the tops emerge and die back before winter begins. The target window is 4 to 6 weeks before your first hard frost, when soil temperature at 4 inches is around 50 F (10 C).
Planting window by USDA zone
| USDA Zone | Planting window | Example cities |
|---|---|---|
| Zone 3 | Late September to early October | Duluth MN, Fargo ND |
| Zone 4 | Late September to mid October | Minneapolis MN, Burlington VT |
| Zone 5 | Early to mid October | Chicago IL, Denver CO |
| Zone 6 | Mid to late October | Kansas City MO, Philadelphia PA |
| Zone 7 | Late October to early November | Nashville TN, Washington DC |
| Zone 8 | Early to mid November | Dallas TX, Portland OR |
| Zone 9 | Mid November to early December | Houston TX, Phoenix AZ |
| Zone 10 | Late November to early December | Miami FL, Los Angeles CA |
| UK | October (most regions) | Aim for mid October in Scotland, late October further south. |
| Australia | April to May | Southern hemisphere autumn, 4 to 6 weeks before first frost. |
How to plant
Separate the bulb into individual cloves just before planting: broken cloves left exposed to air rot quickly. Keep the papery wrapper on each clove intact. Push each clove into the soil with the pointed tip up and the flat root plate facing down. In cold-winter zones (3 to 7), plant 2 to 3 inches deep. In mild zones (8 to 10), 1 to 2 inches is enough. Deeper in colder climates protects against frost heave. Space cloves 6 inches apart in a 6-inch grid in raised beds, or 6 inches in-row with 12 inches between rows. After planting, mulch 3 to 4 inches of straw or shredded leaves. The mulch moderates soil temperature, reduces frost heave, and suppresses weeds through spring. Apply it after the soil has cooled but before it freezes.
Clove spacing
6 inches (15 cm) apart
Row spacing
12 inches (30 cm) between rows
Planting depth (zones 3 to 7)
2 to 3 inches (5 to 7.5 cm)
Planting depth (zones 8 to 10)
1 to 2 inches (2.5 to 5 cm)
Mulch depth
3 to 4 inches (7.5 to 10 cm) of straw or shredded leaves
Approximate time from planting to harvest
8 to 9 months
Spring and summer care
Garlic reappears in early spring as soil warms. At this point it needs two things: nitrogen and consistent moisture. Apply a nitrogen-rich fertiliser (blood meal, fish emulsion, or balanced granular) in early spring when shoots are 3 to 4 inches tall, and again 4 weeks later. Stop fertilising by late May in most zones so the plant directs energy to bulb formation rather than leaf growth. Water regularly through spring: garlic needs about 1 inch per week. Stop watering 2 weeks before harvest. Dry soil at the end of the season cures the outer wrappers while the bulb is still in the ground. The scape (hardneck varieties only): hardneck garlic sends up a curling flower stalk in late spring or early summer. Cut it when it has made one full curl, before it straightens. Cutting the scape redirects energy to the bulb and can increase bulb size by up to 30 percent. The scape is edible and excellent in stir-fry or pesto.
How to know when to harvest
This is the step most guides under-explain. The number of green leaves remaining is a direct count of the papery wrappers on the bulb. Each leaf above ground represents one wrapper below. Those wrappers are the bulb's protection in storage: harvest too early and the wrappers are thin and tear easily; harvest too late and they have already begun to break down. The right moment: the bottom 3 to 4 leaves have turned brown and dry, and 4 to 5 green leaves remain at the top. That means roughly 4 to 5 intact wrappers on the bulb. For hardneck varieties, harvest is typically 3 to 4 weeks after cutting the scape. For softneck, watch the leaves directly. Timing in the northern hemisphere: late June through late July depending on zone. If in doubt, dig one test bulb. If the cloves fill the wrapper and the individual segments are distinct and plump, harvest the bed.
Do not harvest by pulling the stem. Loosen the soil first with a fork or trowel 6 inches from the base, then lift gently. Breaking the neck at harvest shortens storage life significantly because moisture enters through the wound.
Curing
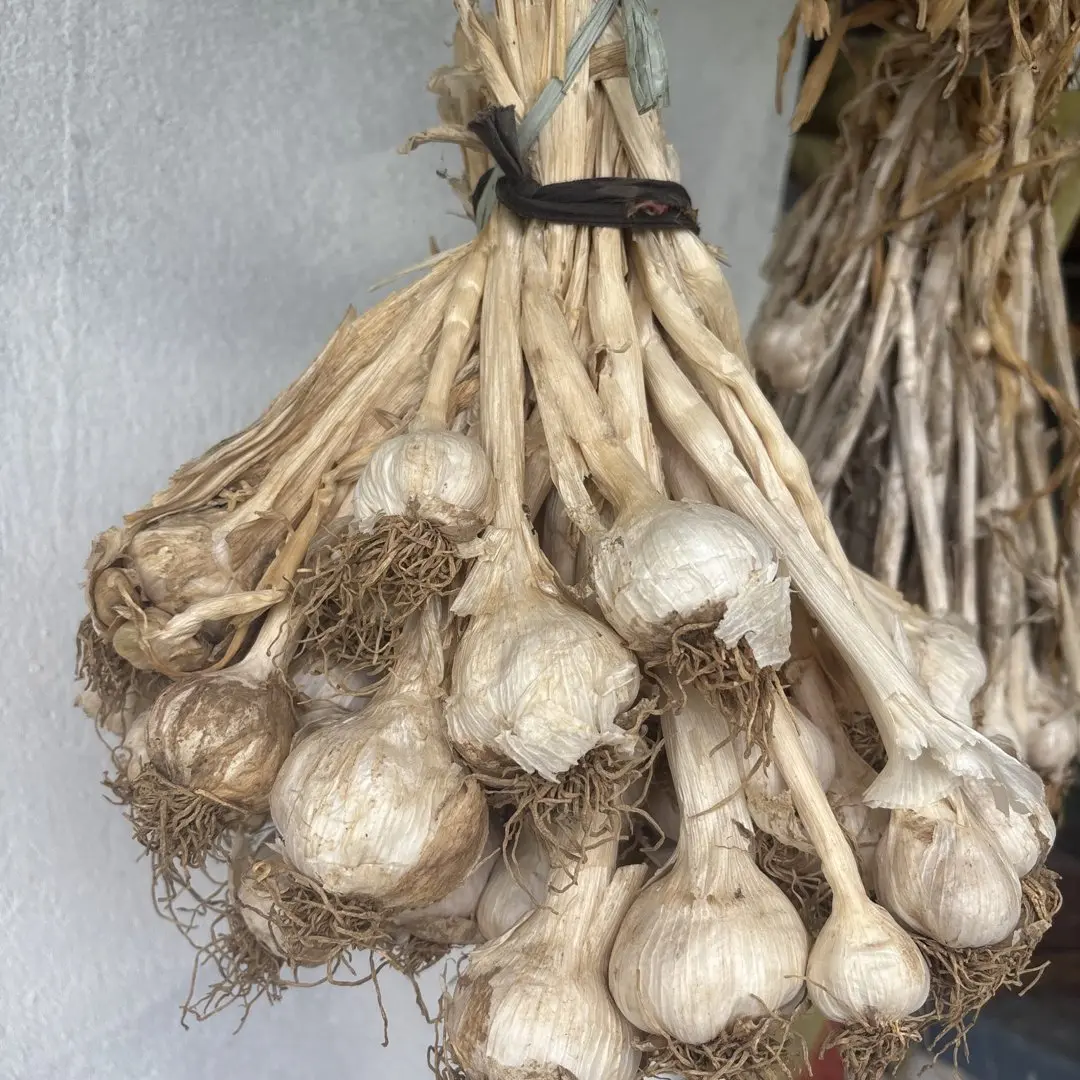
Freshly harvested garlic contains 60 to 70 percent moisture. Curing reduces this to around 35 to 40 percent, tightens the wrappers, and extends storage from a few weeks to several months. Hang or lay the bulbs in a single layer in a shaded, well-ventilated space at 60 to 80 F (15 to 27 C). Do not wash the bulbs. Leave the roots and stem attached: they continue to supply the bulb during curing. Avoid direct sun, which bleaches the wrappers without aiding drying. Cure for 3 to 4 weeks. The stem and roots will be dry and papery when curing is complete. Softneck varieties can be braided once the stems are pliable but not fully dry, typically 1 to 2 weeks into curing.
Curing duration
3 to 4 weeks
Temperature
60 to 80 F (15 to 27 C). Shade required. Good airflow essential.
Softneck storage after curing
9 to 12 months in a cool dry place
Hardneck storage after curing
3 to 6 months in a cool dry place
Harvest moisture content
approx. 60 to 70 percent
Cured moisture content
approx. 35 to 40 percent
Yield expectations
No guide gives honest numbers, so here they are. One clove planted produces one bulb. A typical home-grown bulb weighs 1.5 to 3 oz (40 to 85 g) depending on variety and growing conditions. Music and other porcelain hardneck varieties consistently produce the largest bulbs: 2 to 3 oz is realistic with good soil and correct spacing. Silverskin softneck bulbs tend toward 1.5 to 2 oz but compensate with more cloves per bulb. A 10-square-foot raised bed planted at 6-inch spacing accommodates roughly 24 cloves in a 4-by-6 grid. Expected yield from that bed: 24 bulbs, weighing a combined 2.5 to 4.5 lbs (1.1 to 2 kg). Year one performance is typically lower as soil adjusts; year two and beyond improve as soil organic matter increases. Save your 4 to 5 largest bulbs each year as seed stock.
Sourcing seed garlic: why supermarket garlic fails
Supermarket garlic is treated with a sprout inhibitor (chlorpropham or maleic hydrazide) to extend shelf life. This suppresses or eliminates root development. Even untreated supermarket garlic is usually from commercial softneck varieties optimised for large-scale production, not flavour or disease resistance, and its disease history is unknown. Seed garlic from a reputable supplier is certified disease-free, correctly vernalised during storage, and labelled by variety so you know what you are planting. When selecting seed bulbs, choose the largest in the bag. Bulb size at planting is one of the strongest predictors of bulb size at harvest. Recommended sources: Keene Organics (keeneorganics.com), Southern Exposure Seed Exchange (southernexposure.com), Fruition Seeds (fruitionseeds.com), and local seed libraries for region-adapted varieties.
When things go wrong: symptoms and fixes
| Symptom | Likely cause | Fix |
|---|---|---|
| Small bulbs at harvest | Planted too late, too shallow, or insufficient nitrogen | Plant on schedule. Fertilise twice in spring. Do not harvest early. |
| Cloves rotting in ground | Waterlogged soil or diseased seed | Improve drainage. Buy certified disease-free seed. Do not replant in affected beds. |
| Forked or divided cloves | Temperature fluctuation or planting from stressed stock | Use fresh certified seed each year. Avoid replanting from bulbs that forked. |
| Orange or rust-coloured pustules on leaves | Garlic rust (Puccinia allii fungal) | Improve air circulation. Remove badly affected plants. Avoid overhead watering. |
| Purple or tan leaf spots | Purple blotch (Alternaria porri) | Same as rust: air circulation and avoid overhead watering. Remove debris at season end. |
| White fluffy mould at base of bulb | White rot (Sclerotium cepivorum) | No cure once present. Remove all affected plants and do not replant alliums in that bed for 20 years. |
| Yellowing from top down (not bottom) | Nitrogen deficiency or overwatering | Fertilise. Reduce watering. Bottom-up yellowing is normal maturity; top-down is a problem. |
| Bulbs splitting apart in storage | Harvested too dry or stored too warm | Harvest at the correct leaf-count stage. Store at 32 to 50 F (0 to 10 C) in mesh bags. |
White rot (Sclerotium cepivorum) produces microsclerotia that persist in soil for 20 or more years. There is no chemical treatment available to home gardeners. If you see white fluffy growth at the base of the bulb, remove the entire plant with surrounding soil and do not grow any allium (garlic, onion, leek) in that spot for two decades.