Fix a Flat Tyre: the Complete Tube-Change Tutorial
A Flat Tyre Takes 15 Minutes to Fix, Every Time
Park Tool splits this across three separate pages. Sheldon Brown is accurate but a wall of unformatted text. Every other cycling site buries the steps under a gear buying guide. This tutorial covers everything a beginner needs: what valve you have, what replacement tube to buy, the nine steps to change it, and how to confirm it worked before you ride away. All steps come from Park Tool's authoritative repair documentation, the same source professional mechanics use. What you need: two or three plastic tyre levers, a new inner tube (correct size and valve, explained below), and a pump. That is it. No specialist tools, no technical experience required.
Total time to change a tube
About 15 minutes once practised
Tools required
Tyre levers, replacement tube, pump
Difficulty
Beginner. No tools beyond levers and a pump.
When to patch instead
When you have no spare tube roadside
Step 0. Identify Your Valve Before Buying a Replacement
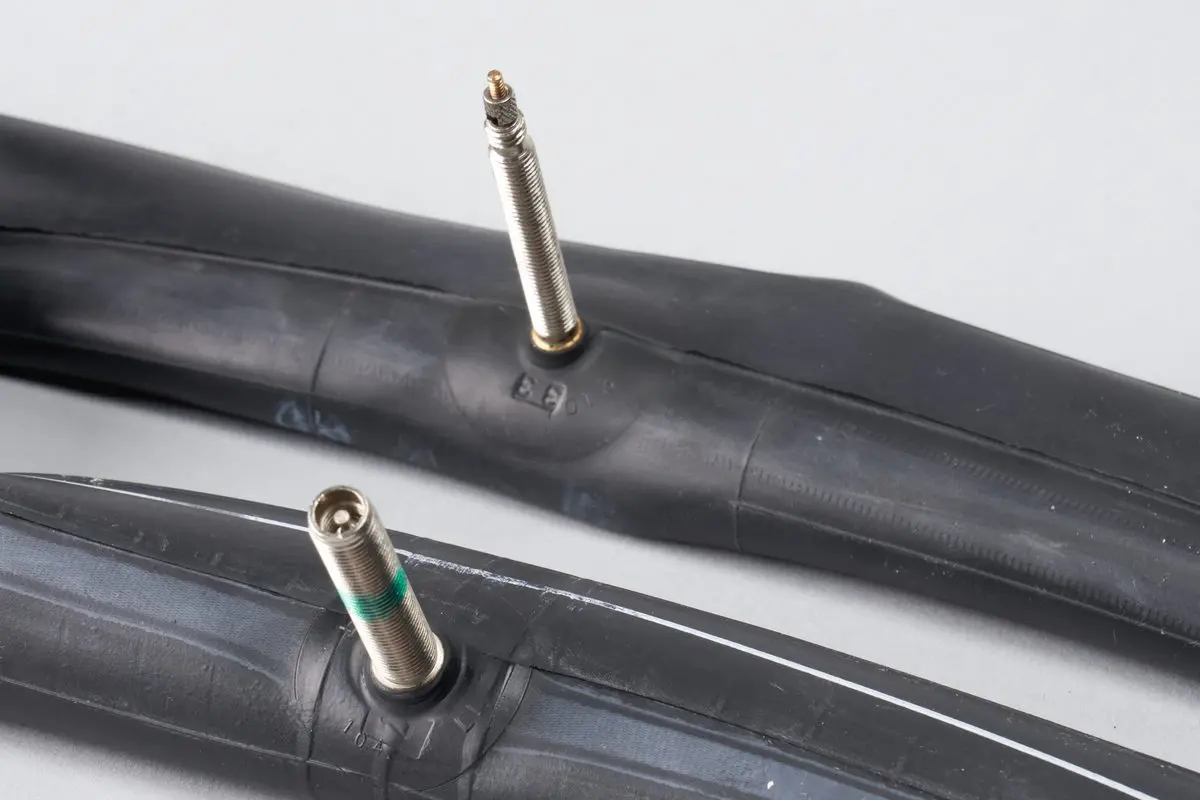
The most common beginner mistake is buying the wrong tube. There are two valves you will encounter on modern bikes, and they are not interchangeable. A Presta valve is narrow (6 mm), found on most road and gravel bikes, and has a small threaded locknut at the tip that you unscrew before pumping. A Schrader valve is wider (8 mm), looks identical to a car tyre valve, and uses a spring-loaded pin. Mountain bikes, hybrid bikes and most kids bikes use Schrader. A Presta valve will not fit securely in a Schrader-drilled rim, and a Schrader valve will not pass through a Presta rim hole. Check the valve on your existing tube before ordering a replacement. Tube sizing is printed on the tyre sidewall in two numbers: wheel diameter and tyre width. A road bike tyre marked 700 x 25C needs a 700c tube with Presta valve. A mountain bike marked 29 x 2.2 needs a 29-inch tube with Schrader valve. Buy a tube matching both numbers, or within the stated size range printed on the tube packaging.
Step 1. Remove the Wheel and Fully Deflate the Tyre
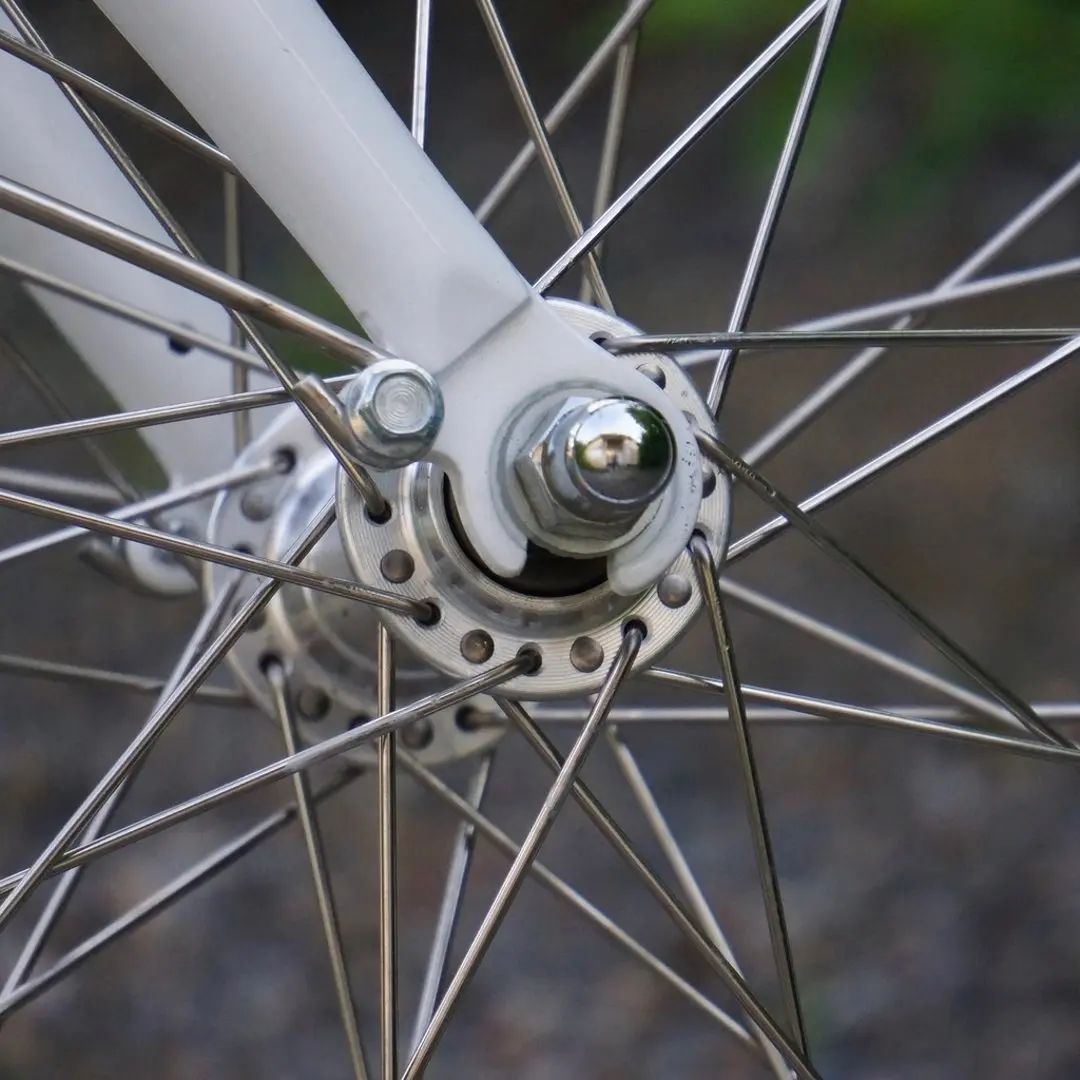
For a rear flat, shift to the smallest sprocket (highest gear) before removing the wheel. This puts the chain in the easiest position to thread back on. Open the quick-release lever, remove the wheel, and set the bike aside. Deflate completely. For a Presta valve, unscrew the locknut at the tip and press it down until all air is gone. For a Schrader valve, press the centre pin with a small tool or your fingernail. A partially inflated tyre is harder to lever off and increases the chance of a pinch flat when reinstalling.
Step 2. Loosen the Bead
Push both sides of the tyre inward toward the centre channel of the rim. The bead (the stiff wire or kevlar edge of the tyre) sits tight against the rim wall when inflated, and pushing it toward the centre loosens it. Run your thumbs around the full circumference on both sides. This step makes levering much easier and is skipped by most beginners.
Step 3. Lever Off One Bead
Start at the point directly opposite the valve. Hook the curved end of a tyre lever under the bead (not under the tube), and pull it over the rim edge toward the spokes. Clip the lever to a spoke to hold it. Place a second lever 2 to 3 cm away and repeat. Once two levers are seated, slide one lever along the rim to pop the rest of the bead over the edge. You only need to remove one side of the tyre at this stage. Do not use screwdrivers or sharp objects as levers. They damage rims and puncture tubes. If the tyre feels stuck, go back to Step 2 and push the bead inward more thoroughly.
Step 4. Remove the Old Tube
Starting at the valve, lift the valve out of its hole in the rim first, then pull the rest of the tube out from inside the tyre. Leave the tyre itself on the rim with one bead still seated. Before discarding the tube, find the hole. Inflate the tube slightly and hold it near your lips (sensitive to airflow) or near your ear. If you cannot locate the leak this way, submerge the tube in water and watch for bubbles. Once found, note where on the tube the hole is (inner edge, outer edge, centre of tread), then match that location on the tyre to find and remove whatever caused it. A thorn, glass shard or wire left in the tyre will puncture the new tube immediately.
Step 5. Inspect the Tyre and Rim
Run a rag around the inside of the tyre casing first, then carefully feel with your fingertips for anything embedded. Check the rim strip (the rubber or plastic band covering the spoke holes). A torn rim strip, or a spoke end poking through the rim bed, causes punctures on the inner edge of the tube. If the rim strip is damaged, replace it before continuing. The failure pattern on the old tube tells you what went wrong. Two small holes side by side (a "snakebite" or "pinch flat") mean the tyre was underinflated and the tube was pinched between the rim and a pothole. A single hole on the outside means something penetrated the tread. A hole on the inside means the rim strip or spoke needs attention.
Step 6. Install the New Tube
Put a small amount of air into the new tube, just enough to give it a round shape rather than lying flat. This makes installation easier and prevents the tube from twisting inside the tyre. Push the valve through the valve hole in the rim first, making sure it points straight toward the hub. A crooked valve can work itself into a leak. Tuck the rest of the tube inside the tyre, working around the rim so the tube lies flat without any folds or twists.
Step 7. Seat the Second Bead by Hand
Starting at the valve, work the open tyre bead back over the rim edge using the palms of your hands. Push the bead down and roll it over, working in both directions away from the valve. Finish the last section opposite the valve. For most tyres this final section is the tightest and requires some thumb pressure. The goal is to do this entirely by hand. If you cannot, use a tyre lever very carefully, levering only the tyre bead and not the tube underneath. A lever that catches the tube causes a new puncture. Most beginners find that lubricating the bead with a small amount of soapy water (applied with a finger) helps the final section go on cleanly.
Step 8. Check the Bead Seating Before Inflating
Before pumping to full pressure, inflate to about 20 to 30 psi and examine both sides of the tyre all the way around. Look for a narrow moulding line on the tyre sidewall just above the rim. That line should sit at a consistent height above the rim on both sides. If it dips in one spot, the bead is not seated there. Deflate, push the tyre back in, and reseat. Also check that no tube is visible bulging out between the tyre and the rim edge. If it is, the tyre came off the bead in that spot and you risk a blowout at full pressure.
Step 9. Inflate, Test, and Reinstall
Inflate to the pressure printed on the tyre sidewall. For Presta valves, tighten the locknut finger-tight after inflating, without tools. Do not overtighten. Reinstall the wheel, close the quick-release lever, re-engage the brakes if you opened them for tyre clearance. Test: bounce the wheel on the ground once, then squeeze both sides of the tyre. It should feel firm and even around the whole circumference. Run the paper test: hold a strip of newspaper over the edge of a table and press the inflated tyre against it. A properly inflated and seated tyre rolls cleanly without wiggling.
The single most common cause of an immediate second flat is leaving the object that caused the first flat still embedded in the tyre. After finding the hole in the old tube, always identify the corresponding spot on the tyre tread and check it carefully before installing the new tube.
Carry one spare tube, two tyre levers and a mini pump on every ride. A CO2 inflator is faster roadside but empties in one use. A mini pump is slower but reusable and the right choice for a first emergency kit.