Develop your first roll of 35mm film at home
Start with black and white film. The developer temperature tolerance for B&W is wide: \
20 degrees C (68 degrees F) is room temperature in most kitchens, and drifting a degree either way will not ruin a roll. Color film (C-41) needs 38 degrees C held to within half a degree throughout, which requires a water bath or a sous-vide. Master the simpler process first. You need three chemicals, a daylight developing tank, and a changing bag. Everything fits in a shoebox. First-time cost runs around $40 to $50 USD if you buy a Paterson tank and a starter B&W kit. After that, the marginal cost per roll is roughly $1 to $2.
Hands-on time
Around 45 to 60 minutes including mixing and drying setup
Development time
7 to 10 minutes depending on film and developer
Difficulty
Beginner, no darkroom or enlarger needed
First-time cost
Around $40 to $50 USD for tank, kit, and chemicals
Temperature for B&W
20 degrees C (68 degrees F), very forgiving
Step 1. Buy a Paterson tank and a B&W chemistry kit
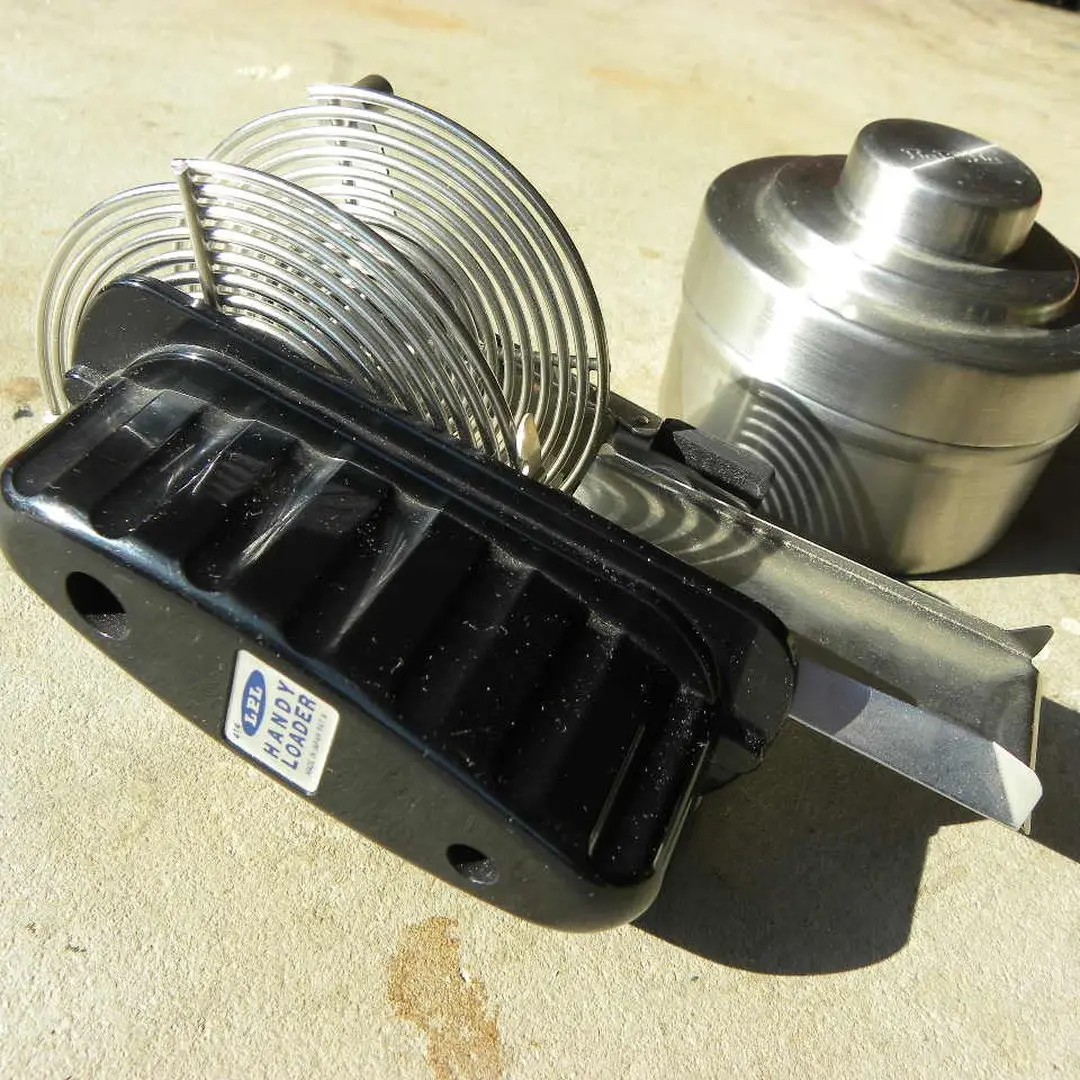
The Paterson Universal Tank is the standard beginner choice. Its ratchet-loading reel adjusts for both 35mm and 120 medium format film. The ratchet mechanism loads film by twisting the two halves back and forth; with a little practice it is much more forgiving than the stainless steel alternative. For chemistry, buy an all-in-one B&W kit: Ilford Simplicity sachets (single-use, no measuring) are the easiest entry point. If you want reusable chemistry, buy Kodak D-76 developer (powder), Kodak Indicator Stop Bath, and Ilford Rapid Fixer separately. You will also need a changing bag (double-zipper models are more light-tight), a thermometer, a measuring jug, two or three clean bottles with lids for mixed chemicals, a timer, and wooden or plastic clips for drying.
Step 2. Mix your chemicals in advance
Mix chemicals at least 30 minutes before you plan to develop so they reach room temperature. The sequence matters: mix stabiliser first, then stop bath, then fixer, then developer last (developer is the most temperature-sensitive and you want it mixed closest to use). D-76 developer mixes with water at 50 degrees C (122 degrees F) to dissolve the powder, then cools to working temperature. For a single-reel Paterson tank developing one roll of 35mm film, prepare 300 ml of each solution. Label every bottle clearly: mixed-up chemicals are the single most common cause of ruined film.
Never mix developer and fixer in the same container. Fixer contaminating developer turns every frame jet black. Use differently shaped bottles, different colors of tape, or write in large letters on each label. This mistake cannot be fixed afterward.
Step 3a. Load the film: prepare in the light
This is the step most people find hardest on the first attempt. Practice in daylight first with a sacrificial roll, then do it blind. Before you start: cut off the tapered film leader flush and make a small diagonal snip on each corner of the new flat end. This prevents the corners snagging the reel grooves. The reel must be completely dry. Even a small amount of moisture causes film to jam and buckle. If your bathroom is humid, dry the reel with a hair dryer and let it cool. Into the changing bag, place: the film canister, a bottle opener or multi-tool, the Paterson reel, the tank body, and the funnel lid. Zip both zippers before you open anything.
Step 3b. Load the film: inside the bag
Crack the canister with the bottle opener and pull the film out by the spool core. Insert the film leader into the outer groove of the reel and load by alternately twisting each reel half forward and back. Feed until all film is on the reel. Cut the spool off at the last centimeter of film. Drop the reel onto the center column, close the tank body, then screw on the funnel lid. The tank is now light-tight and you can open the changing bag.
Step 4. Develop
Pour developer into the light-tight funnel at the top of the tank and start your timer. Immediately invert the tank and tap the base firmly on the counter three or four times to dislodge any air bubbles sitting on the film surface. Air bubbles block the developer and leave small clear circles on the negatives. Agitate for the first 30 seconds with continuous gentle inversions. After that, invert the tank four to five times at the start of each minute interval and tap again. Consistency matters more than force: a steady rhythm produces even development; vigorous random shaking produces streaks. Develop for the time your film and developer combination requires. The table below lists the most common combinations at 20 degrees C.
Common B&W development times at 20°C (68°F)
| Film | Developer | Dilution | Time |
|---|---|---|---|
| Kodak Tri-X 400 | D-76 / ID-11 | Stock | 7.5 min |
| Kodak Tri-X 400 | D-76 / ID-11 | 1+1 | 10 min |
| Ilford HP5 Plus 400 | D-76 / ID-11 | Stock | 7.5 min |
| Ilford HP5 Plus 400 | D-76 / ID-11 | 1+3 | 20 min |
| Ilford Delta 400 | ID-11 | Stock | 9 min |
| Ilford FP4 Plus 125 | ID-11 | Stock | 6 min |
| Kodak T-Max 100 | D-76 | 1+1 | 9 min |
Step 5. Stop bath and fix
Pour out the developer, then pour in stop bath immediately. Agitate continuously for 30 seconds. The stop bath halts development instantly. Kodak Indicator Stop Bath turns from yellow to purple when it is exhausted; replace it when the color change happens. White vinegar at a 1:4 ratio in water works as a substitute but has no indicator. Pour out the stop bath and pour in rapid fixer. Agitate continuously for the first 30 seconds then four to five inversions each minute. Ilford Rapid Fixer takes 2 to 4 minutes for 35mm film at 20 degrees C. Standard (non-rapid) fixer takes 5 to 10 minutes. To test fixer exhaustion: before your session, dip a small piece of unexposed film leader in the fixer and time how long it takes to go clear. That is your clearing time. Replace the fixer when clearing time doubles compared to that baseline.
Step 6. Wash and dry
Pour out the fixer. Fill the tank with water at 20 degrees C, invert five times, drain. Repeat five more times. Alternatively, run a slow trickle of water through the funnel lid for 5 minutes; this uses more water but is faster. For the final rinse, mix a few drops of Kodak Photo-Flo or Ilford Ilfotol wetting agent into 300 ml of water and soak the reel for 30 seconds with gentle agitation. Do not rinse after this step. The wetting agent reduces water surface tension and prevents the drying spots that appear when water beads and evaporates unevenly on the negatives. Pull the film from the reel and hang it in a dust-free spot with a clip at the top and a weighted clip at the bottom to keep it straight. Never squeegee or run your fingers along wet film: scratches from this step are permanent. Let it hang for 1 to 2 hours until fully dry. Sleeve the negatives into archival sleeves once dry.
Visual troubleshooting: what went wrong
| Symptom | Cause | Fix |
|---|---|---|
| Thin pale negatives with flat contrast | Temperature too low or time too short | Verify thermometer accuracy; use a later time from the data sheet |
| Dense dark negatives | Temperature too high or time too long | Lower temp or reduce time; check thermometer against ice water (0C) |
| Completely jet-black film | Developer contaminated with fixer | Label bottles clearly; start over with fresh chemistry |
| Completely clear film with edge numbers | Fixed before developing | The process order was reversed; negatives cannot be recovered |
| Milky or cloudy film | Under-fixed; fixer too weak or too short | Re-fix in fresh fixer for the full time then rewash |
| Small clear circles on frames | Air bells; insufficient tapping at pour-in | Tap tank base firmly three or four times immediately after pouring developer |
| Streaks or uneven patches | Inconsistent agitation or too little developer volume | Use at least 300 ml for a single 35mm reel; keep agitation rhythm steady |
| Drying spots on dry film | Skipped wetting agent | Rewet in diluted Photo-Flo or Ilfotol for 30 seconds and re-hang |
Push processing extends development time to compensate for underexposed film. A common starting point is to add 30 to 50 percent of the base time for each stop of push. For Ilford HP5 rated at 1600 ISO (3 stops push), a time of 20 minutes in D-76 1+1 at 20 degrees C is a commonly used starting point. Results vary by film; consult the Massive Dev Chart (massivedevchart.com) for specific combinations.